Lens Blur Filter for depth of field (beginner level difficulty)
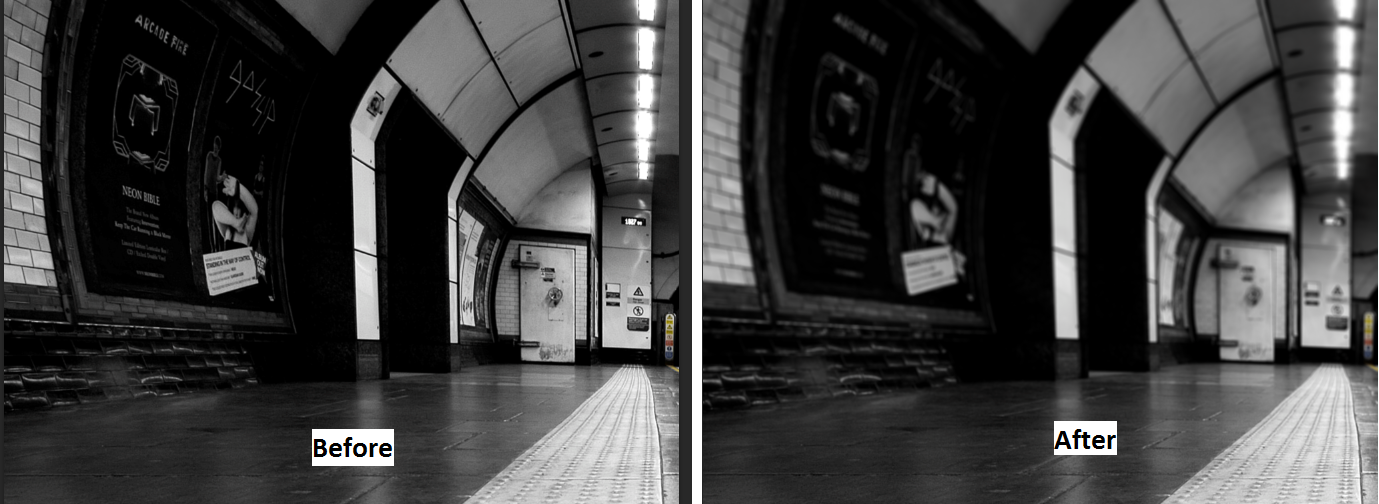
The background image is still rather sharp and I want to emphasize Robin and her teddy bear a bit better. So I’ll simulate a shallow depth of field with the Lens Blur filter. First I click on the background layer, then CTRL+J to duplicate the layer so I have a good original if needed. Now working on the duplicate background layer which is still a smart object, I right click on the layer’s name and select Rasterize Layer or from the menu: Layer -> Rasterize -> Smart Object. You’ll noticed the Smart Object icon in the layer channel is gone.
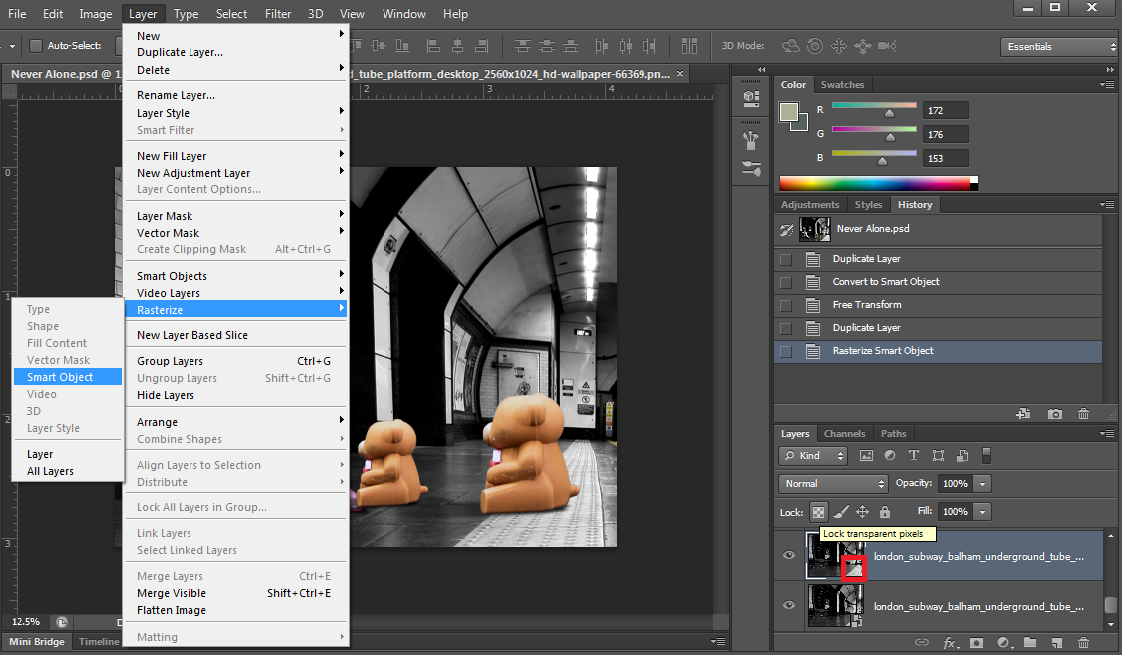
Rasterize Smart Object first ! Otherwise Lens Blur Filter will not be available
We want a shallow depth of field so that the area where the figures are position at, the background is sharp and gets blurred as the view goes further back. I click on the Quick Mask button, select the Gradient tool, and using the gradient tool, I start from the bottom up. This will create a gradient selection where the red areas will not be affected by the lens blur filter.
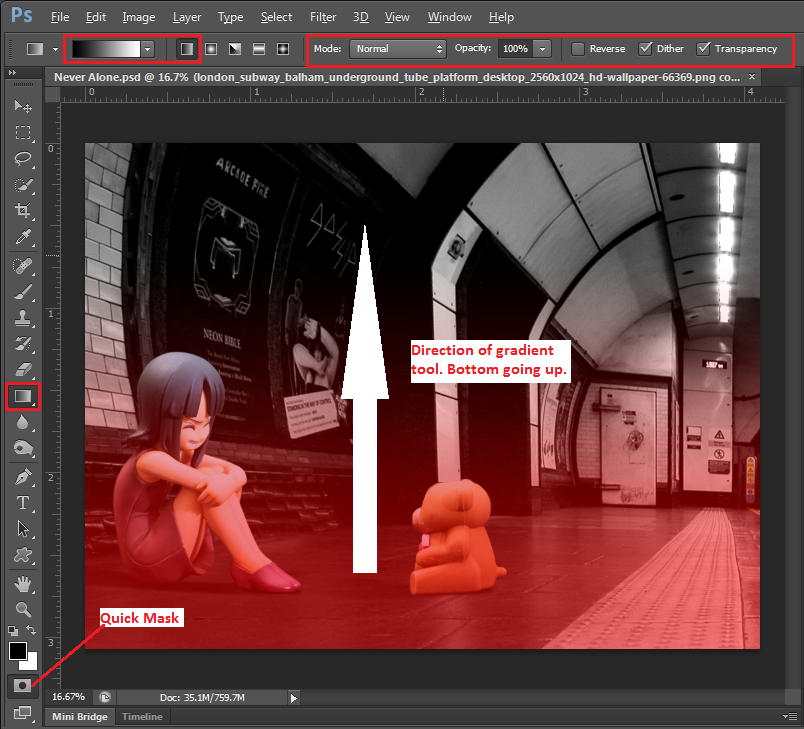
Quick Masking
The Quick Mask button is clicked again to get out and we have our selection. From the menu bar: Filter -> Blur -> Lens Blur.
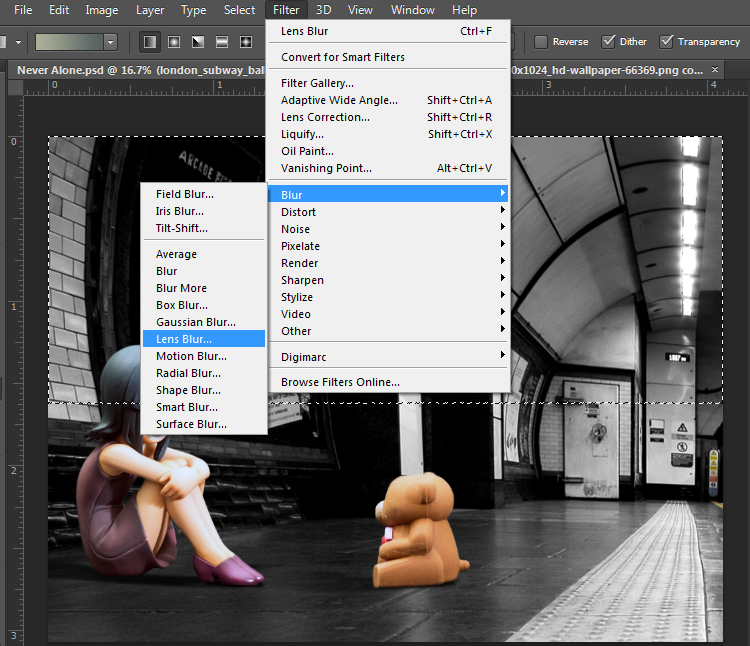
After clicking out of Quick Mask select is set. Time for Lens Blur!
Lens blur is for the entire background. During the Smart Object transformation I enlarged it. But the entire background is still here. Our quick mask selection only selected the part I highlighted in red below. I cut out a lot of the background image out.

remember I enlarged the background to the area of picture. Entire background e is still there.