Creating Drop shadows technique (Beginner to intermediate level difficulty)
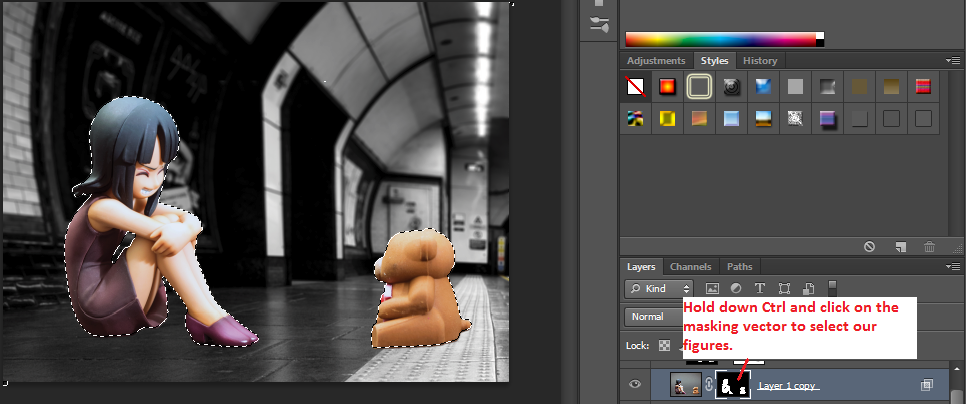
For shadow creation I used the Drop shadow from the Blending Option to create the shadow silhouette for each of the figures. Hold down the CTRL key on your keyboard and click on the Mask. This will select our figures.
Next we click on the photo layer, then click on the Refine Edge button. Afterwards we want to set the output to a new layer. This will set a new layer with just the figures and no background.
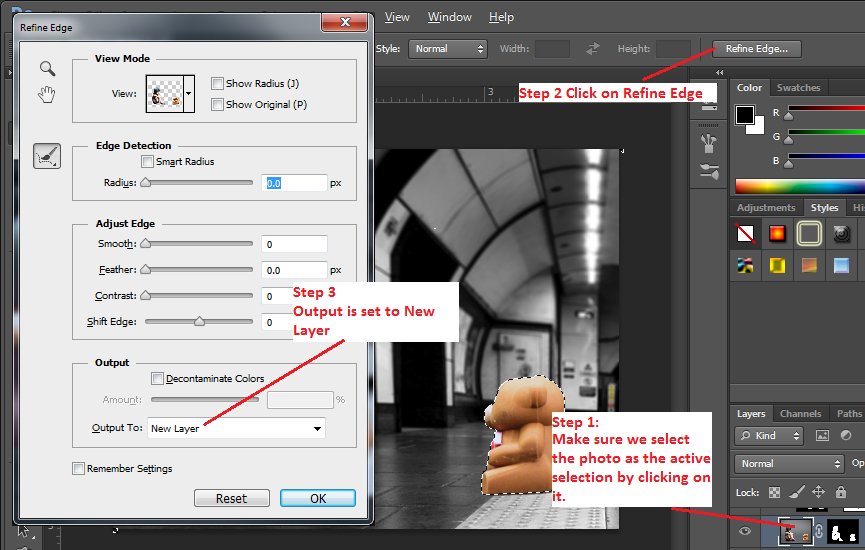
This creates out selection without the background into a new layer
For the shadow silhouette, I click on our new figure layer. Right click on it and select Blending Options, The following window I checked Drop Shadow option and played around with the settings.
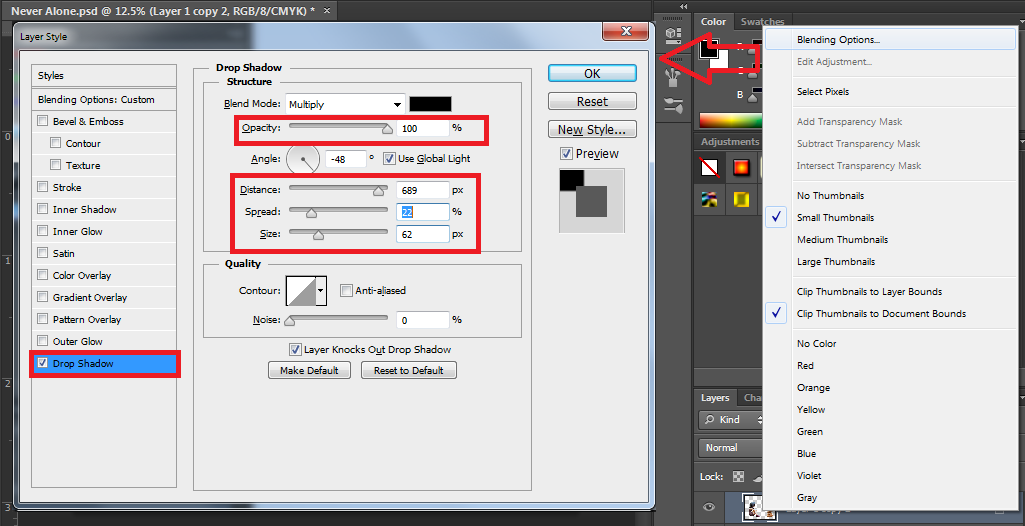
Drop Shadows added. You can move the shadows
This added a drop shadow special effects. But I want to create the drop shadows as their own layer for further manipulations. Right click on the Drop Shadow effect and click on the Create Layer option.
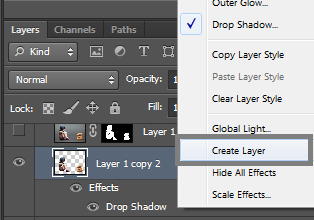
Creating Drop Shadow as a separate layer
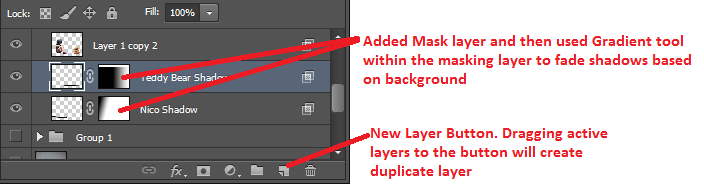
With the shadow layer created, I duplicate the Shadow Layer by clicking on the layer and pressing Ctrl + J. This duplicates the layer. On one layer I deleted Nico Robin’s shadow leaving the teddy bear and vice versa for the other shadow layer. This give me the space to work on the figures shadows individually. Using the Transform option, CTRL + T, I used it to move and Warp the shadows. To fade the shadows I use a mask layer. I clicked on each shadow layer and clicked on the mask button. Gradient tool was then used in the mask layer to gradually fade the shadows.
The video below does something similar technique wise for the drop shadow.